So how do you tackle this? First off, you will have to deploy a third-party storage resource monitoring tool on your network so that you can keep tabs on your storage resources. This will help you pinpoint any issues with your storage arrays and fix issues before they cause massive damage. For this purpose, we will be using the Storage Resource Monitor tool. SRM or Storage Resource Monitor is developed by Solarwinds which is not a new name to network and server administrators. Solarwinds is a huge name in the network and system management market and the users know that they can trust the tool when it comes from Solarwinds. SRM has a multi-vendor storage support system so no matter what vendor storage devices you are using, you are most likely to be covered. With that said, let us jump into the various processes of deploying the tool on your system.
Installing Storage Resource Monitor
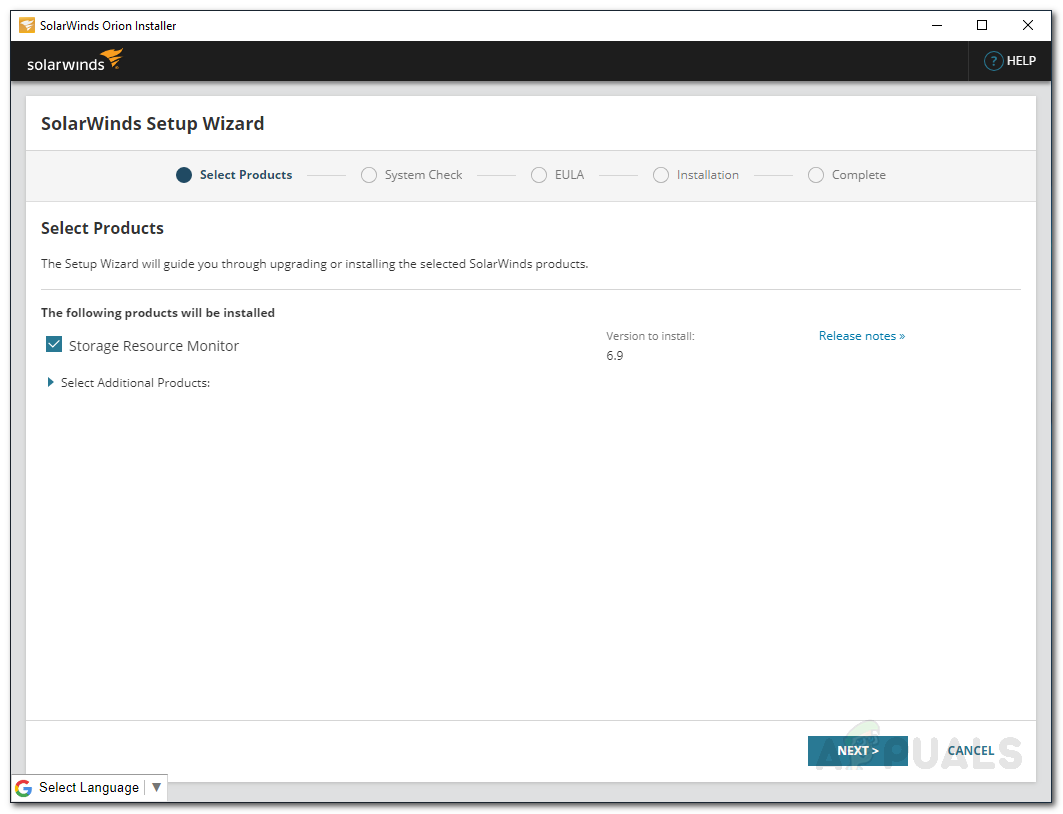
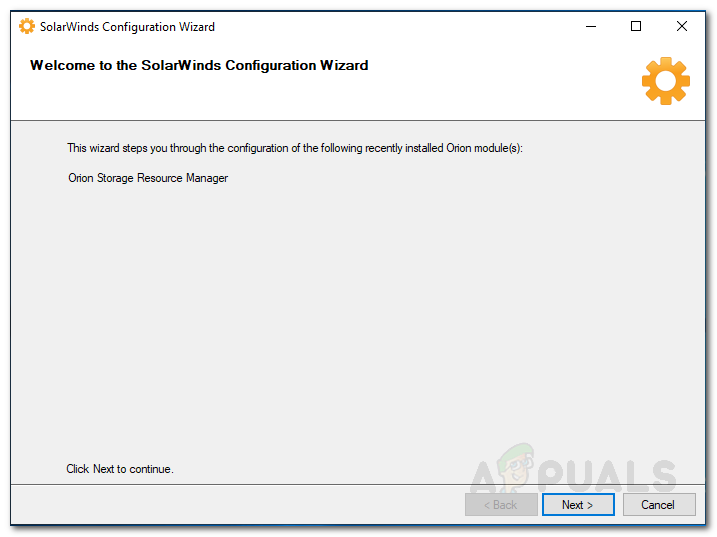
To start, you will have to download the Storage Resource Monitor tool from Solarwinds’ website. The link can be found here. Head to the link and click on ‘Download Free Tool’ to start your 30 days fully functional evaluation. Please make sure you download the Orion module. If you like the software, which you surely will, you can buy a license from the website. Once you have downloaded the tool, follow the below instructions to install the tool on your system:
Enabling Array
Now that you have installed the tool on your system, you can start by adding your storage arrays to the Storage Resource Monitor and then start monitoring. However, to do this, you will first have to enable your storage arrays. Now we can’t show you how to enable your storage arrays as different vendors have different methods of enabling an array. However, thanks to Solarwinds efforts, you can learn how to do so from their website. Just head to this link, find your vendor and then head to the link provided in front of your respective array. By doing this, you will be able to enable your array without any issues.
Adding an Array
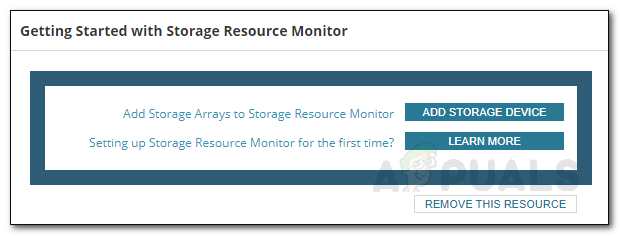
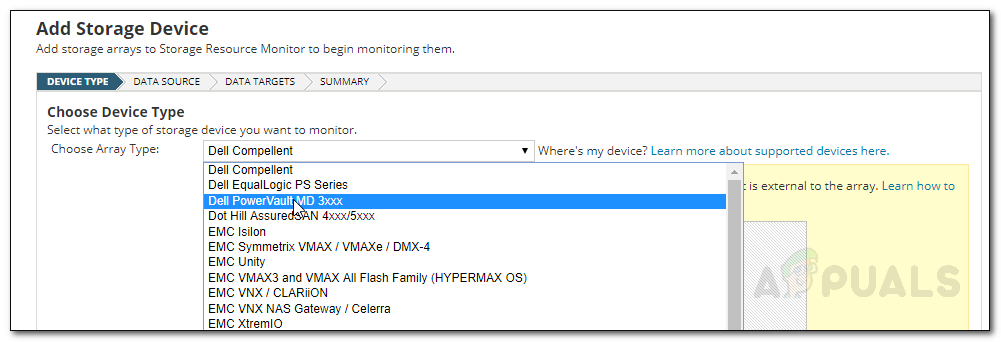
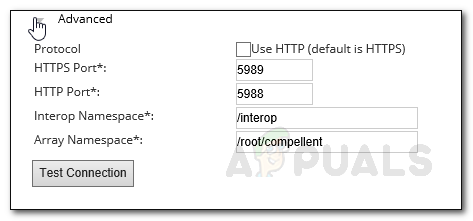
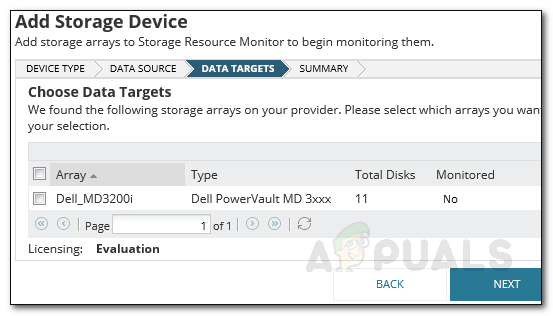
Once you have enabled your arrays, you can now start adding them to the Storage Resource Monitor. After adding your arrays, you can monitor using the SRM Summary page. To add an array, follow the instructions below:
The Storage Resource Environment
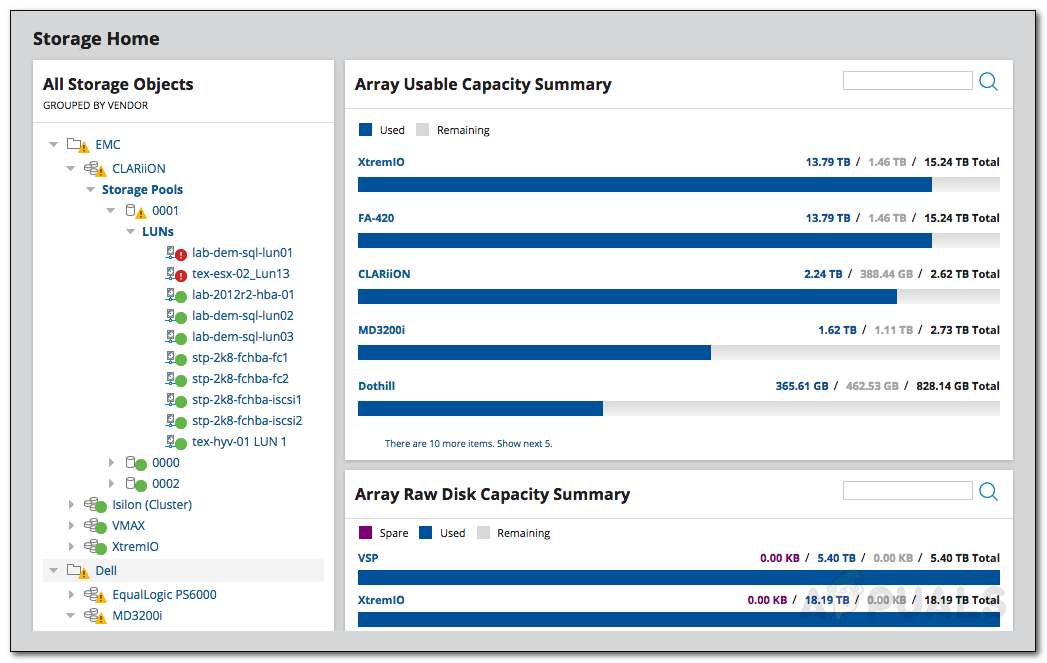
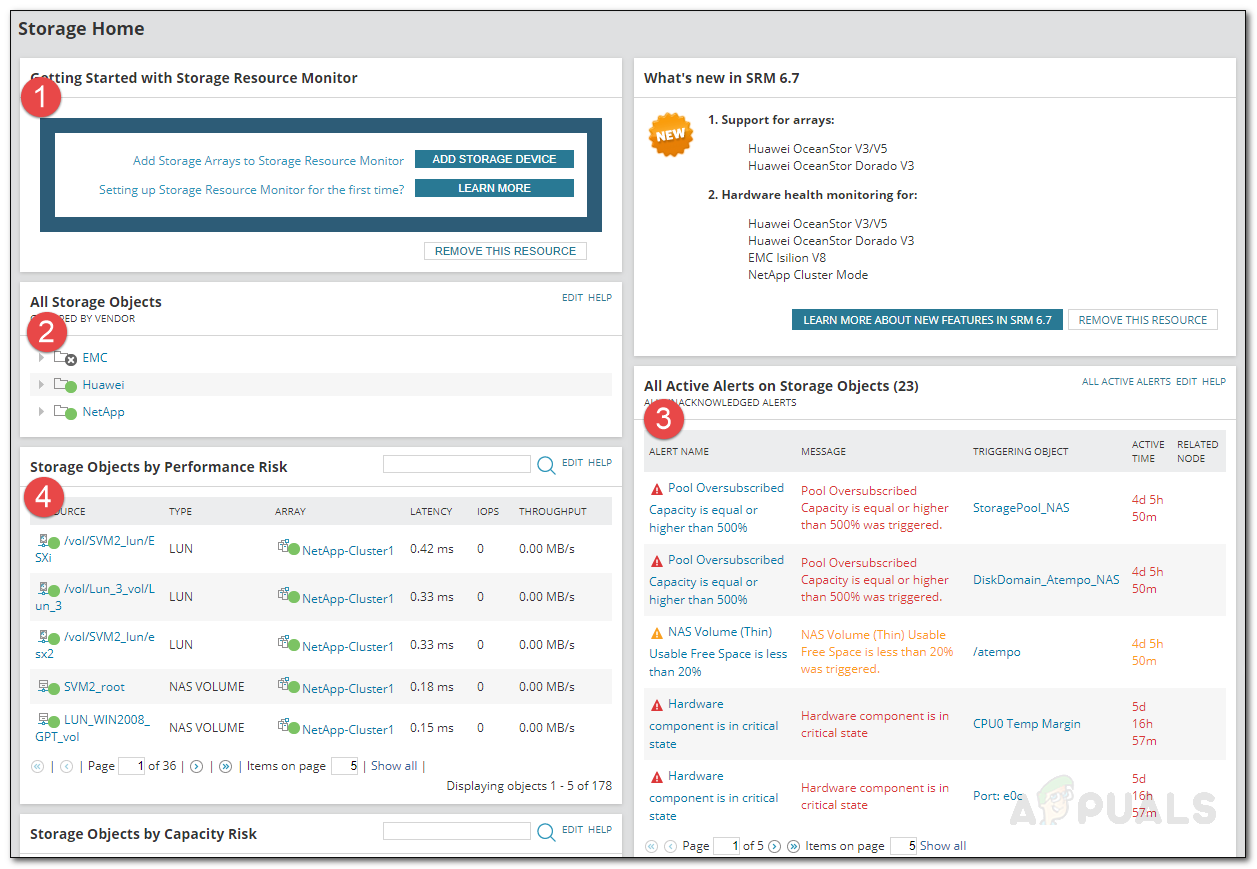
Now that you have added your storage arrays, you can start monitoring them. When you navigate to the Storage Summary page, there are four main things that you need to know about. First off, you can add more storage devices by clicking the Add Storage Device button. Under All Storage Objects, all of your added devices will be listed that you can view. Under that, you will find the devices that have the most serious performance issues. Click on one of the entries to view more details about the object. On the left-hand side, you will be able to view the alerts triggered by the Storage Resource Monitor tool. You can view the details by clicking on each alert.
How to Manage your Storage Arrays in Storage Resource Monitor?Fix: Your Computer is Running Low on ResourcesThe 5 Best Storage Resource Monitoring and Management SoftwareHow to Monitor your Website using Website Performance Monitor?