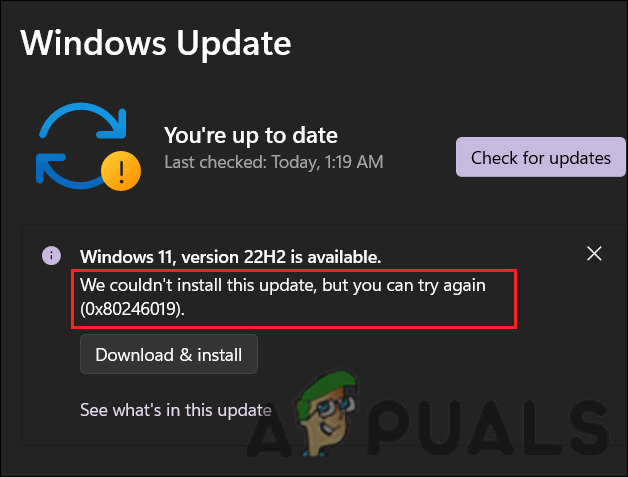
The following error can be caused by several reasons, such as corrupt Windows update components, antivirus interruption, and generic corruption errors within the system. Below, we take a look at the troubleshooting methods that worked for other users in resolving this issue. Proceed with the ones that suit your situation the best.
1. Run the Windows Update Troubleshooter
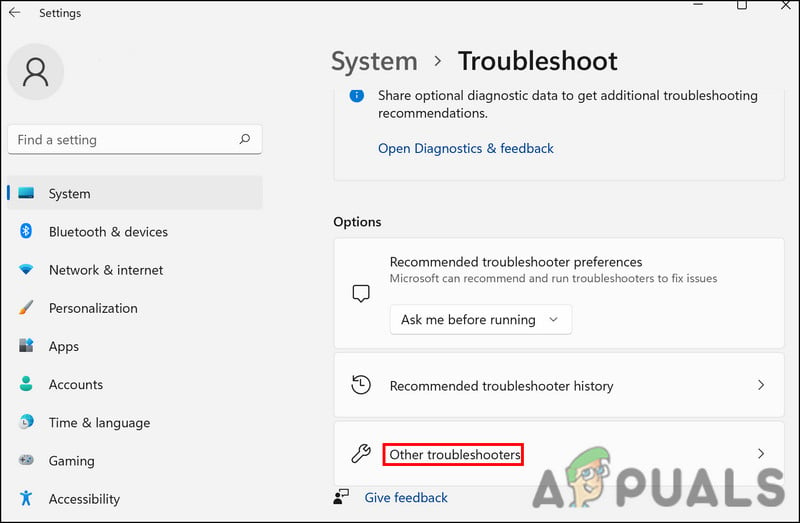
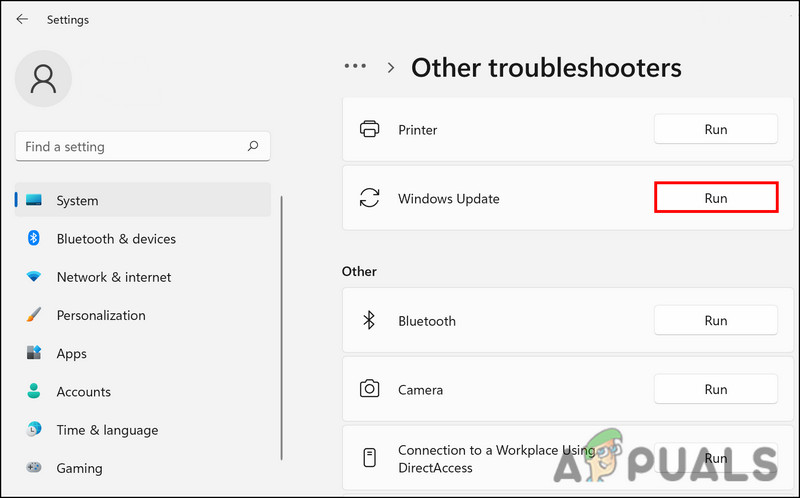
If you encounter an update error, it is recommended that you run the Windows Update troubleshooter first. As a product of Microsoft, this utility scans the system for potential problems that could prevent the updates from being installed. Here is how you can run it:
2. Install the Updates Manually (If Applicable)
Occasionally, a corruption error or glitch in the system prevents the system from installing the updates automatically. If you are trying to install a system update that is throwing the error, then you can attempt to install the targeted updates manually using the Microsoft Update Catalog. In this directory, you can find all the Microsoft updates, and you can download and install the ones your system requires. Follow these steps to proceed: Hopefully, you will be able to install the update without any problems.
3. Disable Antivirus
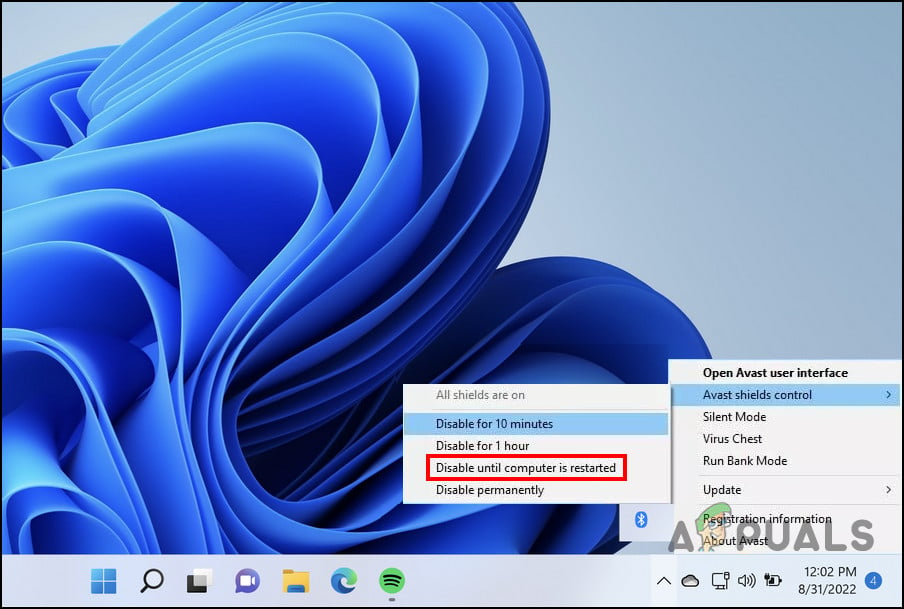
Your antivirus program may be causing the problem. Despite being known for their ability to protect against malware and viruses, these programs are also known to interfere with some of the system’s features, such as updating the operating system. You can temporarily disable your antivirus program to resolve this issue. By using Avast antivirus as an example, we have shown how to accomplish this. Steps may vary depending on the antivirus program you use. Here is how you can proceed: Reinstall the update once the antivirus has been disabled. Once the computer has been restarted, the security program will automatically be enabled again.
4. Reset the Windows Update Services and Cache
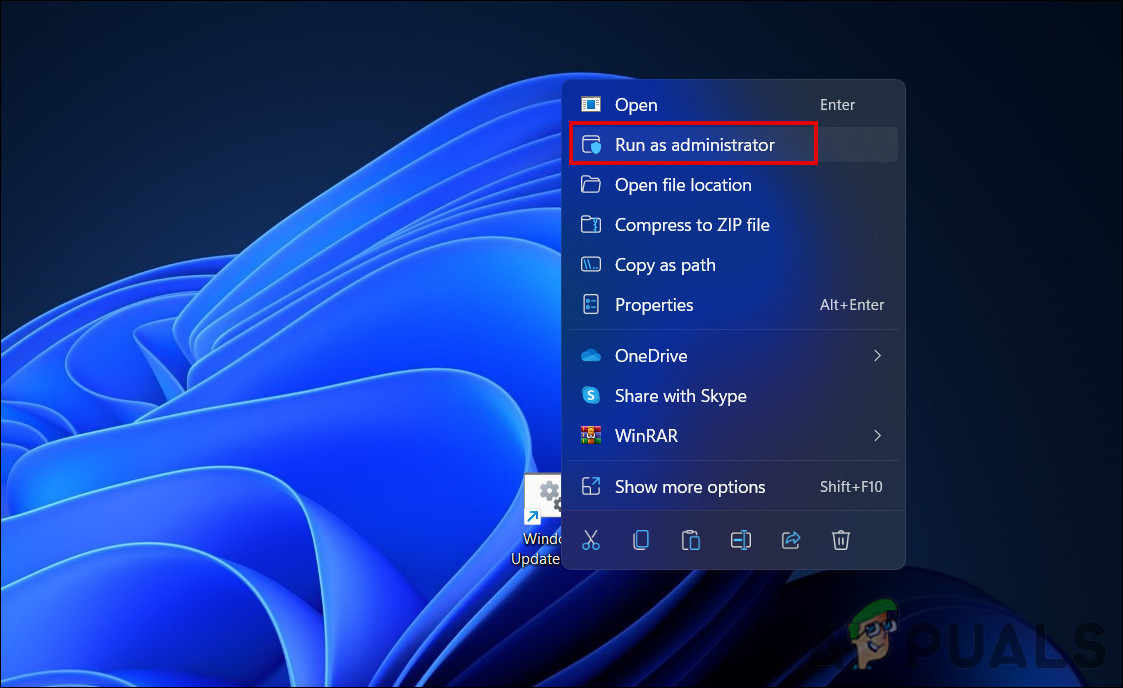
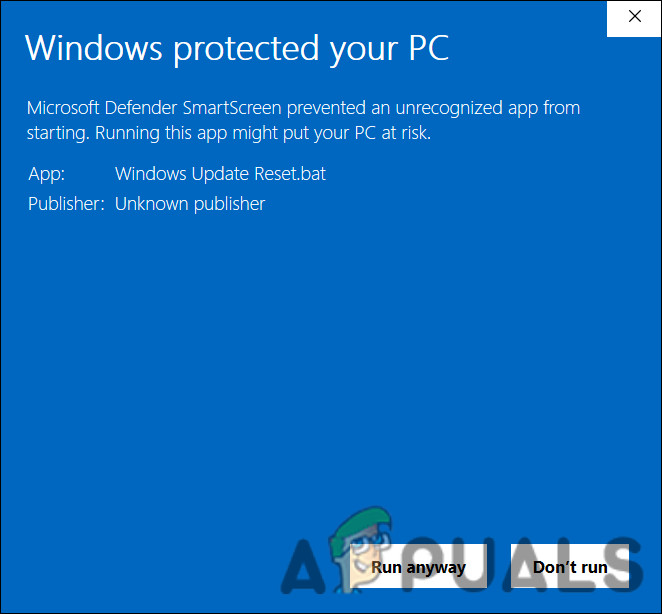
It is essential that the relevant services are enabled and are functioning properly for the system to install updates. Installing the update may be difficult if one or more of these services are acting up. Ideally, the issue can be resolved by resetting the components and services to their default settings. The number of services responsible for installing updates is large, so doing this manually can take a considerable amount of time. For this reason, you can automate this process with our batch file. The file only needs to be installed and run. It will reset the services via Command Prompt automatically. Here is all that you need to do:
5. Perform a Clean Install
If none of these methods work for you, you can do a clean Windows installation. Having Windows 10 and 11 installed from scratch eliminates performance issues, frees up space, and declutters your computer. It also removes viruses, Trojans, malware, and bloatware from the system and fixes problems like this one. You may find that a clean installation will solve the problem permanently if you’ve exhausted all conventional troubleshooting methods. Contact the official Microsoft support team if you are uncertain whether to clean install. This will allow them to pinpoint the exact cause of the problem and suggest appropriate solutions.
Fix: Windows Update Error “We Couldn’t Connect to the Update Service”[SOLVED] One of the Update Services is not Running Properly in Windows UpdateLast Free Update For Windows 7 Released, KB4534310 And KB45343140 Are The Final…How to Update the Windows Update Agent to the Latest Version